Showing posts with label [1942]. Show all posts

Friday, September 5, 2008

[Image] Wrong Place, Wrong Time.

19th October, 1942. Tel el Eisa, Egypt.

Wreckage of German supply convoy.

During the last intense days of fighting at Tel el Eisa this German supply convoy arrived with much needed food, water and ammunition. Whilst attempting to deliver the supplies to their intended destination the course of the battle changed and they found themselves behind 8th Army lines. For some hours the battle raged back and forth with ownership of the supplies changing hands twice between British and German troops with the Germans eventually retaining their prize.

Being frantically directed away from the battle to the new supply delivery point by German Intelligence the convoy arrived to find that they had been mistakenly directed into the 9th Division's front lines.

The Germans went hungry that night.

image 013463 Australian War Memorial.

Monday, September 1, 2008

[Image] 25 Pounder at the Australian War Memorial

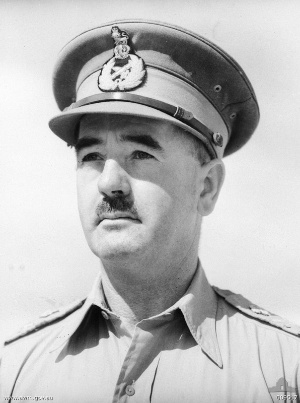
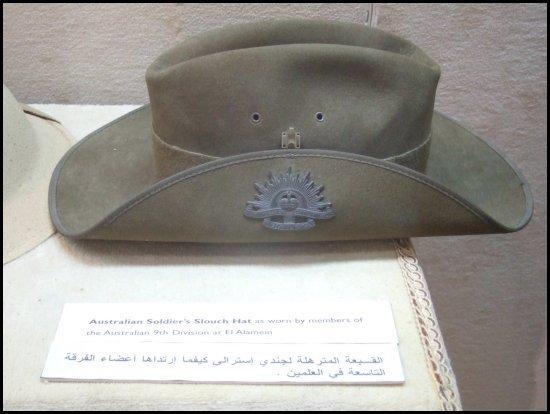
August, 2008. Australian War Memorial

The 25 Pounder Heavy Field Gun.

A British 25 Pounder Heavy Artillery piece is as returned from service with the 9th Division in the Western Desert Campaign. This actual gun was used during the Battle of El Alamein in the attack that stopped Rommel's final drive across North Africa and is on public display at the Australian War Memorial at Canberra, Australia.

It sits on a heavy steel base plate that acts as a means with which to anchor and turn the gun on uneven ground, like the sand or rock of the Western Desert. It fires the standard commonwealth High Explosive charge but was also capable of firing Armour Piercing, Chemical, Smoke and Flare rounds. This gun is said by many to be the best artillery piece of the Second World War, though there are just as many supporters of the German 88mm.

The 25 Pounder was the standard artillery piece of both the Royal Australian Artillery as well as the Royal Horse Artillery, the British Artillery Regiment, that aided the Australian Infantry with the defence of Tobruk during the siege by the Afrika Korps in 1941.

Several of these guns, along with countless crates of ammunition, were captured by the Germans at Mersa Matruh in Rommel's rapid advance towards Alexandria in 1942. These same guns were turned upon the 2/48th Infantry Battalion during the Battle of El Alamein with devastating effect. The 2/48th retook the guns within a short period of time and again set them upon the fleeing Germans.

All accounts from Tobruk that I have read all say that without the support of the Royal Horse Artillery the Siege of Tobruk would have been over very quickly. Tobruk was the perfect example of Australian Infantry and British Cavalry and Artillery working as one cohesive unit.

image courtesy of Robert Snewin. Used with permission.

This post is a direct reponse to the question asked by Douglas Chan who wanted to know what were the Royal Horse Artillery guns used during the Siege of Tobruk. I hope this helps Douglas. Good luck with your project!
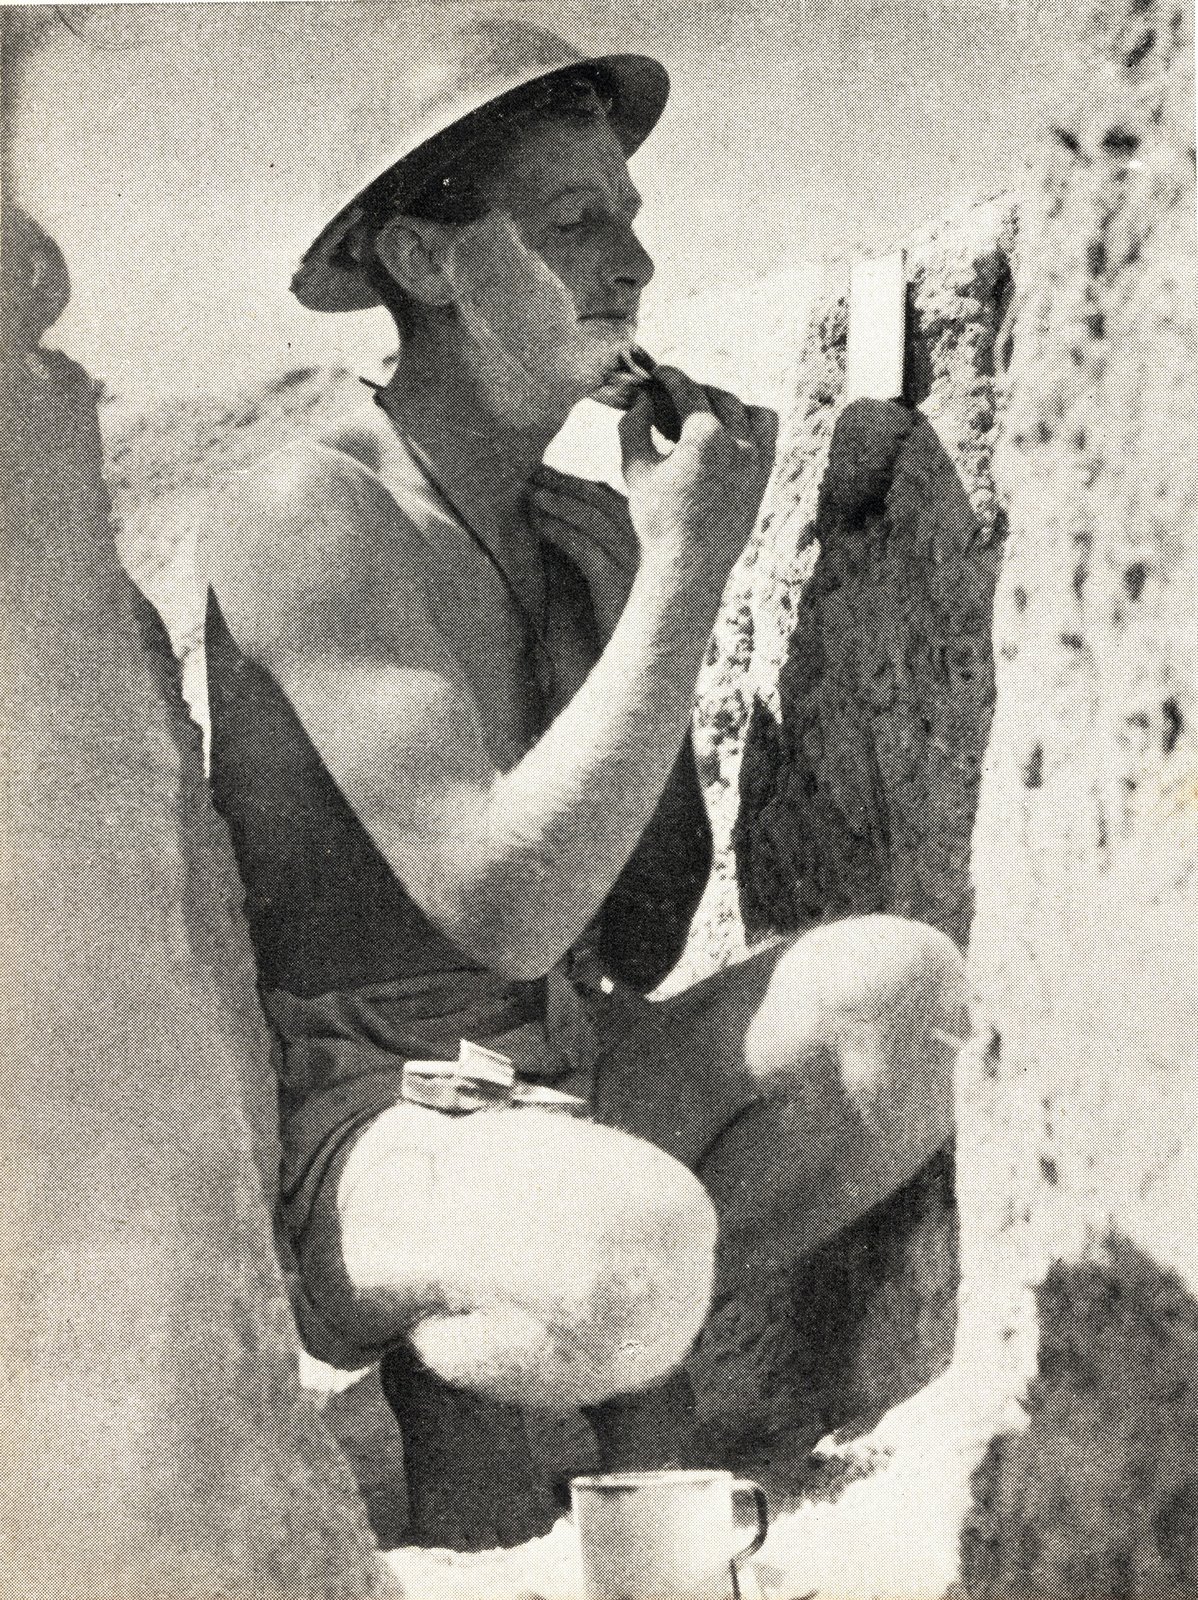
[Image] German Vanity at Alamein

September, 1942. El Alamein, Egypt.

The Swastika flags bound for conquered Alexandria.

These unidentified men of the Australian 9th Division enjoy hunting for German souvenirs amongst the vehicles that they destroyed in a recent advance. It was said that Rommel was so confident on taking Alexandria with his last push that he was ordered by High Command in Berlin to ensure that all vehicles carried adequate supplies of swastika flags so that the victorious Afrika Korps could enter Alexandria under full colours.

In reality they made really cool souvenirs for Aussies to take home to show their friends and family alike. With the ample amount of them carried there were very many less disappointed Diggers after Alamein than before.

images 042008 and 042009 Australian War Memorial.

Wednesday, August 27, 2008

[Image] The Price of Victory

27th January, 1943. El Alamein, Egypt.

The wrecks of allied tanks from Alamein.

These allied tanks, knocked out by Axis forces during the Battle of El Alamein, await transport to allied workshops for repair and refit. With a desperate need for all armoured vehicles to be serviceable and with production of new units unable to meet demand, it was a logical choice to repair these tanks.

In the foreground is the US built M4 Sherman Medium Tank. This was the tank that broke the Africa Korps. Supplied under the Lend-Lease Act where America supplied war materials to the Allies in return for military base rights in allied colonies around the world. The agreement also called for the return or destruction of all war materials after the war but with nearly a billion pounds of equipment enroute when the war ended which was vitally needed by the British it was decided by the Americans to sell it at 10 cents in the dollar.

The Americans allowed the British to pay off the money owed in 50 annual installments even allowing the British to defer payments when foreign exchange rates were not favourable to them. In essence it was a deal too good to be true. Over the years the British Government elected to defer payments on 6 occasions. The final payment was made to the US Government in 2006.

image 014269 Australian War Memorial.

[Image] 9th Div Salvage Unit under fire

5th October, 1942. El Alamein, Egypt.

9th Div Salvage Unit under fire.

Being shot at is all in a days work for members of the 9th Division Salvage Unit in the desert at Alamein. These men were working to recover a disabled Bren Carrier in the forward line areas when a German shell landed dangerously close.

Whilst some men have wisely gone to ground, some merely crouch. The Salvage Unit often worked extremely close to enemy lines and were often shelled or fired upon whilst conducting their vital work. With limited access to rapid resupply of lost heavy vehicles it was often in the best interests of the 9th Division to salvage what they could and repair it for further use. Anything that could be salvaged was, even enemy equipment and hardware was pressed into service against the Axis forces at Alamein.

image 013351 Australian War Memorial.

[Image] Death of a Valentine

17th July, 1942. El Alamein, Egypt.

German shrapnel defeats the Allied Valentine Tank.

In a perfect example of why the allies needed heavier tank armour in the Western Desert this Valentine II Infantry tank has been disabled by shrapnel from German shelling. If shrapnel can be so devastating against an armoured target like this, it is horrifying to think of it's effect on infantry in the open ground of the Western Desert. This is a major reason casualties were so high at Alamein.

image 024552 Australian War Memorial.

[Image] Take that Germany!

5th October, 1942. El Alamein, Egypt.

9th Div troops mock Hitler.

These unidentified troops of the 9th Division skylark on a destroyed Mercedes Benz Battle Wagon in a mock salute to Hitler. It was common practice for many Australian troops to skylark in photos wearing pieces of captured German uniforms. A particular favourite, as worn by most of the Diggers in the above photo, is the German M35 Steel Helmet.

image 013356 Australian War Memorial.

[Image] What direct hit Sir?

19th September, 1942. El Alamein, Egypt.

Two direct hits on an M3 Grant Tank.

This 8th Army M3 Grant Tank, or General Grant, has taken two direct hits on it's forward armour by German shell fire. These two hits, side by side, have dented the armour but done no real damage. These same hits would have destroyed an English Crusader Tank and likely killed the crew. Whilst far from perfect, the Grant had it over it's English predecessors in the one department that truly mattered, the armour. With much thicker armour, the operational life of the tank, and it's crew, was extended beyond that previously experienced.

The M3 Grant Tank was an interim measure taken by the British after the initial devastating defeats in the Western Desert by the Panzer Divisions. Lacking armour and firepower the British tanks were decimated by the much stronger Germans. After being refused permission to have American factories produce an English designed tank, the British resorted to purchasing the M3 Medium Tank from the United States.

Whilst slow, heavy, with a high profile and with an unusually mounted main gun, the M3 was used extensively in the Western Desert until the M4 Sherman became available. Once the Sherman's arrived in numbers the Grant was rapidly withdrawn from front line operations.

image 025032 Australian War Memorial.

[Image] Invaluable Aussie Advice


22nd July, 1942. Tel el Eisa, Egypt.

Good advice from the AIF?

The cabin door of this 9th Division ammunition truck is painted with either a timely piece of advice or a commentary on life in the Western Desert. In a typical display of Australian defiant humour the men who painted this sign leave it up to the reader to decide their intent.

image 024624 Australian War Memorial.

Sunday, August 24, 2008

[Image] A Lucky Escape at Alamein

November, 1942. El Alamein, Egypt.

One Digger and a lucky escape.

This unidentified Digger of the 9th Division was wounded in both arms in the Second Battle of Alamein and captured by the Germans where he was transported, as a prisoner of war, to a German Dressing Station.

His wounds were treated by a German Medical Officer and when recovering the Dressing Station was captured by British Infantry where the Digger was released and returned to his Battalion. Here he is seen enjoying a smoke while catching up with excited mates.

image 042076 Australian War Memorial.

[Slang] Meet the Baitlayer

5th October, 1942. El Alamein, Egypt.

The baitlayer prepares his bait.

In another amusing example of Australian slang, the cooks of a battalion were referred to as "baitlayers". This derogatory term was a cheeky reference to the food being poisonous much like a bait for a wild animal.

In this picture the baitlayer is NX34516 Sapper Thomas M. O'Connor of the 2/4th Field Park Company, Royal Australian Engineers who has a reputation amongst the 9th Division as supposedly having 1001 recipies for bully beef. In this case he makes bully pancakes, which the men report as 99% pancake and 1% bully beef.

image 013357 Australian War Memorial.

[Image] The P.M. and the Private.

5th August, 1942. El Alamein, Egypt.

The Hon. Sir Winston Churchill.

The Prime Minister of England, Sir Winston Churchill, visits the 9th Division forward lines at Alamein. Dressed in Suit, Tie and with Pith Helmet, Mr Churchill uses a horsehair fly swatter to keep the insects at bay. He smokes one of his trademark cigars whilst he is escorted by Major General L.J. Morshead, GOC 9th Australian Division.

And the Private.

SX13319 Pvt. Stanley Collins

2/23rd Infantry Battalion.

When touring the front lines Mr Churchill stopped to speak with Pvt. Collins of Adelaide. What happened next ensured that Pvt. Collins was the most famous man in the 9th Division for a day. He bummed a cigar off the Prime Minister of England.


When later asked by curious mates if he intended to smoke it, Pvt. Collins joked that he was going to take it home have it sealed in glass and would then pass it down as a family heirloom. Pvt. Collins survived the war, discharging in September, 1946 as Staff Sergeant Collins. It is not currently known if he did indeed take the cigar home with him in early 1943.

images 024760, 013354 & 013355 Australian War Memorial.

Wednesday, August 20, 2008

[Image] 9th Division scroungers at work

23rd July, 1942. Tel el Eisa, Egypt.

Scrounging from a German Tank.

These two unidentified members of the 9th Division go over a disabled German Panzer Kampfwagen Mk III for anything of value to use against the Axis forces.

Whilst this tank looks relatively intact the telltale dark scoring around the open turret hatch suggests that there will be little of use found inside this tank as it appears to have burnt from the inside. A fire of this magnitude usually meant that the tank took a direct hit from a large calibre anti tank gun. While there is no visible point of entry it is most likely the entry point is on the other side of the tank out of view. The fact that the tracks appear intact also suggests that the tank took a direct hit.

That being said it doesn't look like this is going to deter the Digger on the left who appears to be attempting to move the forward mounted machine gun. This wouldn't be the first German machine gun (likely an MG34) that was taken from a disabled Panzer and put back into service against their former owners by the 9th Division.

image E014741 Imperial War Museum.

[Image] Phone for you Sir!

1st August, 1942. Tel el Eisa, Egypt.

9th Division Signals sets up a mobile switchboard.

This photo, taken during the 9th Division advance, shows two unidentified members of 9th Division Signals working rapidly to establish lines of communication across the newly captured front.

The soldier to the right is setting up and operating a mobile switchboard. The linesman to the left has a reel of signal wire mounted on his back in preparation for the mad dash he is about to perform to front line postions. A seperate wire would need to run to each position from the switchboard. These wires would often be cut by shell bursts and it would be necessary for men to go out under extreme fire to repair the wire. There are many stories of bravery by members of 9th Div Sigs, many of whom were killed or wounded attempting to repair a wire during a battle.

Not often given their due, Signalmen performed many of the unseen tasks that made the Infantry's job alot easier by ensuring rapid voice communication, by 1940's standards, was possible.

image 041965 Australian War Memorial.

Tuesday, August 19, 2008

[Image] The German MG34 Machine Gun


25th July, 1942. Tel el Eisa, Egypt.

A Digger and his captured MG34.

This unidentified soldier of the 9th Division proudly poses with a captured German MG34 Machine Gun. The Maschinengewehr 34 was accepted into service in the German army in 1934 and during the Western Desert campaign featured heavily in action with the Afrika Korps.

This particular gun is being used in a set up that was not originally intended. The MG34 was designed to be able to be used as both a light and medium machine gun. When deployed in LMG mode it was meant to use the barrel mounted bipod, as the one pictured does, and a 50 or 75 round drum magazine. In MMG mode it was meant to use linked 50 round belts, and one of two heavy tripods.

In practice, the Afrika Korps favoured the light weight and maneuverability of the bipod with the sustained firepower of the linked belt fed ammo, with as many as 250 bullets being able to be linked together at once. This Digger uses the MG34 in the exact same unofficial configuration as that favoured by the Afrika Korps in the field, leading one to think that this gun was set up this way when captured.

The MG34 was used extensively during the Siege of Tobruk and it was one such weapon that NX15705 Cpl Jack Edmondson V.C. of the 2/17th Infantry Battalion was mortally wounded by whilst capturing it during the Easter Battle. This action ultimately led to his death from wounds and the posthumous awarding of the Victoria Cross.

image E014847 Imperial War Museum.

Monday, August 18, 2008

[Image] Fleecing the Saffas

21st July, 1942. El Alamein, Egypt.

9th Div troops play cards with the South Africans

These two 9th Division Machine Gunners pass the time in their weapons pit, between engagements, with a game of cards with two members of the South African Army.

The British War Photographer who stumbled across this scene must have had a good laugh at the sight of dominion troops so engaged in gambling that they haven't even noticed they are being photographed. This is a great photo to demonstrate the different, yet distinct, styles of head wear in service with dominion troops at Alamein. The slouch hat and the pith helmet, symbols of their respective armies, and both being quite practical in the Western Desert. I suppose Aussies and Saffas know a thing or two about the desert. There are no deserts in England, Italy or Germany.

image E14671 Imperial War Museum.

[Image] A letter home from Alamein

10th September, 1942. El Alamein, Egypt.

A precious letter home.

This unidentified Digger of the 9th Division enjoys a few hours out of the front lines in organised relaxation at the Alamein beachfront. Rather than go for a much deserved swim this soldier prefers to write a letter home but ponders what to write.

In typical Australian fashion this soldier is shirtless, yet still wears the very practical slouch hat. The leather thong of his identity discs are visible around his neck and this lucky soldier writes with a fountain pen and appears to have a ready supply of proper writing paper. Both pens and paper were always in short supply for Diggers in the Western Desert. Letters would often be written home on any kind of scrap paper available. It was not uncommon for Aussies to write letters home on paper that they had captured from Italian or German troops.

Troops of the 9th Division always enjoyed their brief stints at the Alamein beach front. Often the swim in the ocean would be the only wash the troops would get for weeks on end and one wonders how much the trips to the beach were motivated by a genuine concern for the men's welfare or more an opportunity for the officers to rid their men of the horrible smell that accompanied them where ever they went.

image 042004 Australian War Memorial.

Sunday, August 17, 2008

[Image] The Digger of Alamein

The Australian Digger, Alamein 1942.

This photo taken at the Alamein War Museum in Egypt shows the typical Australian Infantry soldier of the Western Desert of 1942. A Lee-Enfield .303 rifle, a bayonet and of course the tin hat are ever present.

Several things differ between the model soldier here and photos of actual Aussie soldiers at Alamein that are worth mentioning. I think that this photo is how the regulation Australian soldier should have looked. In reality the Australian soldier at Alamein was most likely bare chested. He was more likely to wear a slouch hat than a tin hat and was more often than not bare footed. This Digger is also way too white in skin tone to have spent any length of time in the Western Desert.

The Diggers of the 9th Division may have gone away white but came back the very image of the 'bronzed aussie'. This was an era decades before sunscreen. As a result skin cancers were a huge concern for returned men of the 9th Division even way into their latter years. For some it wasn't the Germans that killed them but the Western Desert sun itself many decades later.

The Australians were a casual lot with their uniforms in all theatres of the second world war. This is what makes some of the photos even more powerful because of the contrast in their casual appearance and the horrible nature of their surroundings.

image Alamein War Museum, Egypt.

Saturday, August 16, 2008

[Image] The RAAF drops in at Alamein.

21st September, 1942. El Alamein, Egypt.

RAAF Kittyhawk makes a forced landing.

This RAAF Kittyhawk made a forced landing in 9th Division positions at Alamein after a succesful attack run over German held territory. Unfortunately on the return run he was hit by severe anti-aircraft, or ack ack fire and was forced to make a rather skillful forced landing. This plane would have been rapidly salvaged, repaired and put back into service.

My mate Terry is currently restoring a 26 litre supercharged V12 Allison Engine out of one of these planes. I bet his neighbours can't wait for it to kick over for the first time.

image 013279 Australian War Memorial.

[Image] German War Graves at Alamein

September 1942, El Alamein, Egypt.

German War Graves found inside Australian positions.

When the Germans attacked 9th Division positions in September 1942 at Alamein they took a portion of the Australian minefield and held it for a number of days until a counter attack dislodged them.

During this time the Germans buried a number of their dead that had fallen in the no mans land between forward positions. Both sides buried each others dead if it was safe to do so. The men who occupy these graves were buried during this brief period. The Germans brought with them a supply of ready made wooden crosses in anticipation of having to perform this task.

An unidentified Tommy Gunner of the 9th Division looks on at the final resting place of the men who were his enemy.

image 042007 Australian War Memorial.